


Product: Fake nails for manicure
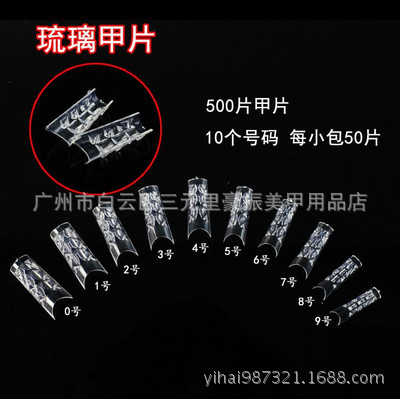
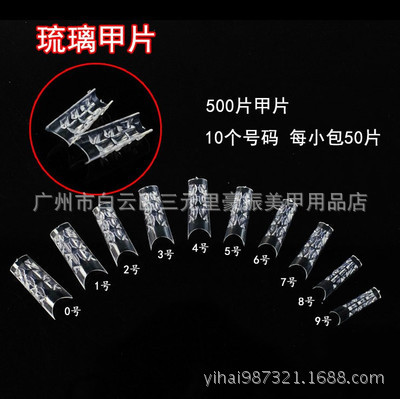
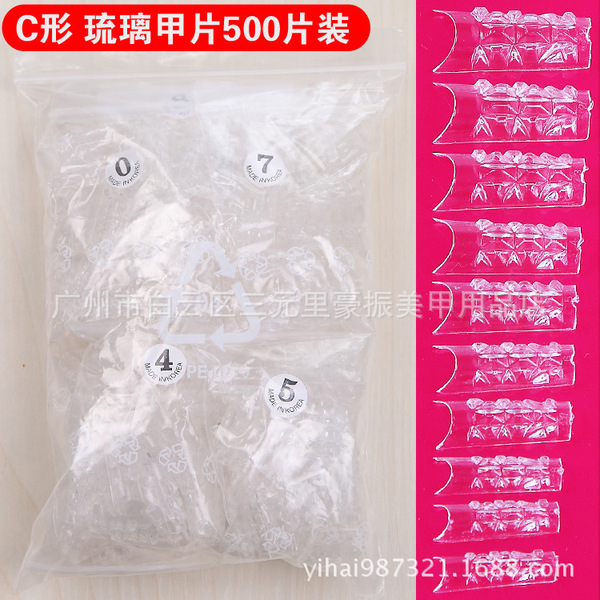
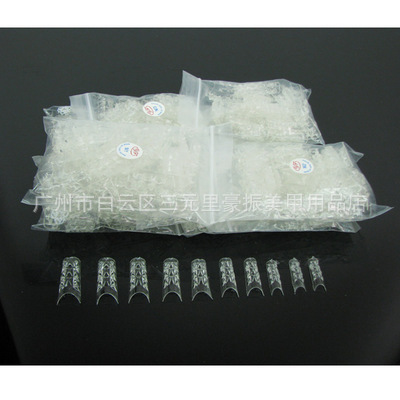
Color: Transparent. The inside of the nail plate is marked with specification numbers from 0# to 9#. There are 10 grids from large to small, suitable for everyone's nail size.And there is a small step for easy alignment.When using it, polish it slightly according to the finger shape, apply nail glue on the back of the nail, stick it in the right position and press it for about 10 seconds.Next, use a polishing tool to polish the nail piece to the same plane as the nail. Apply crystal powder and let it dry before polishing.In order to make the glazed nail sheet adhere firmly to the nail itself, it is recommended to spread transparent crystal powder on the bottom of the nail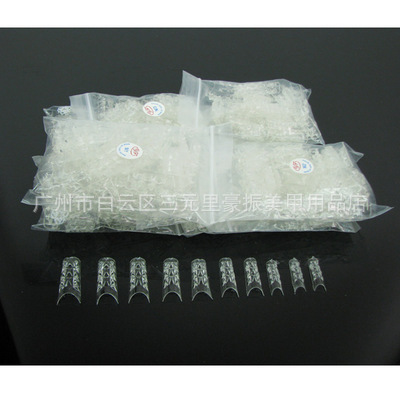
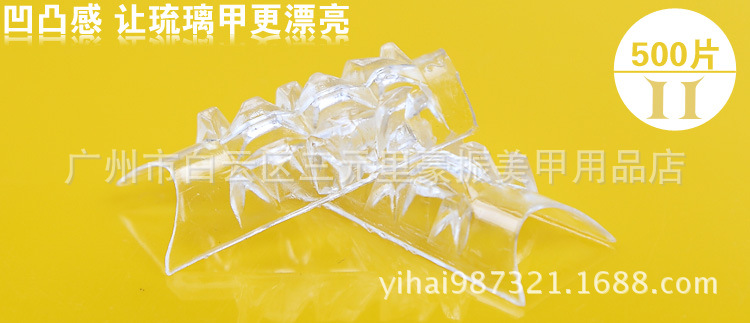
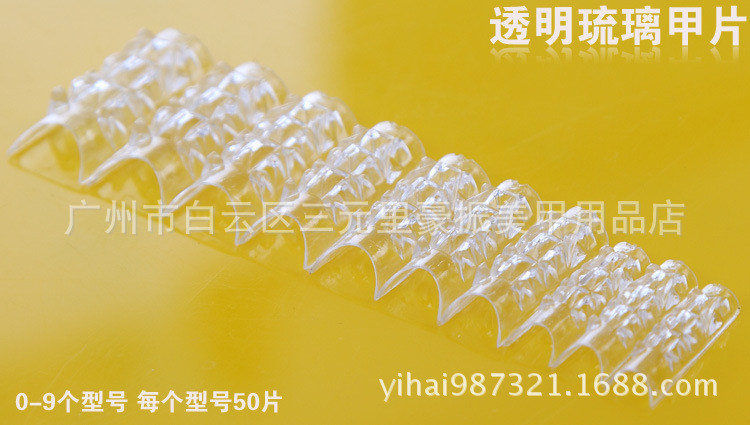
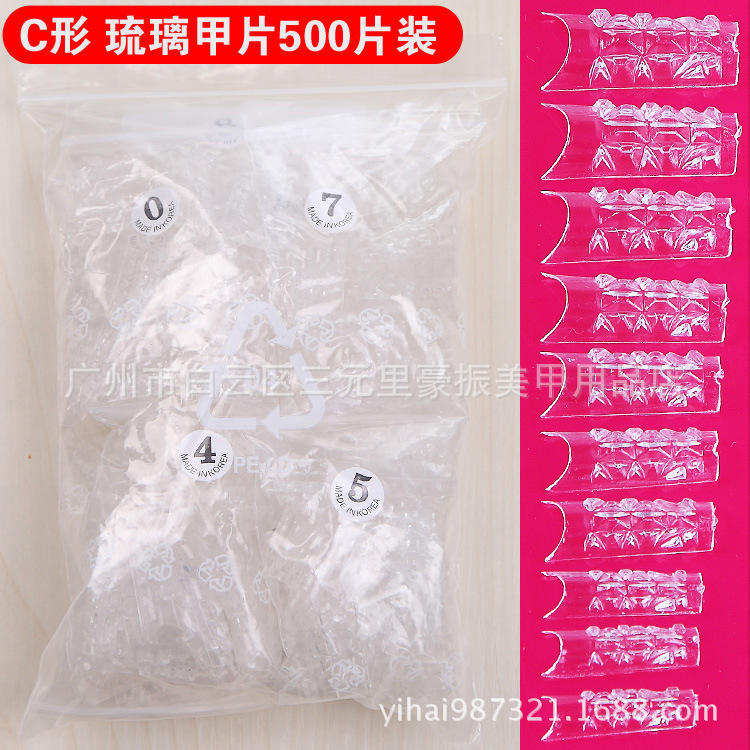
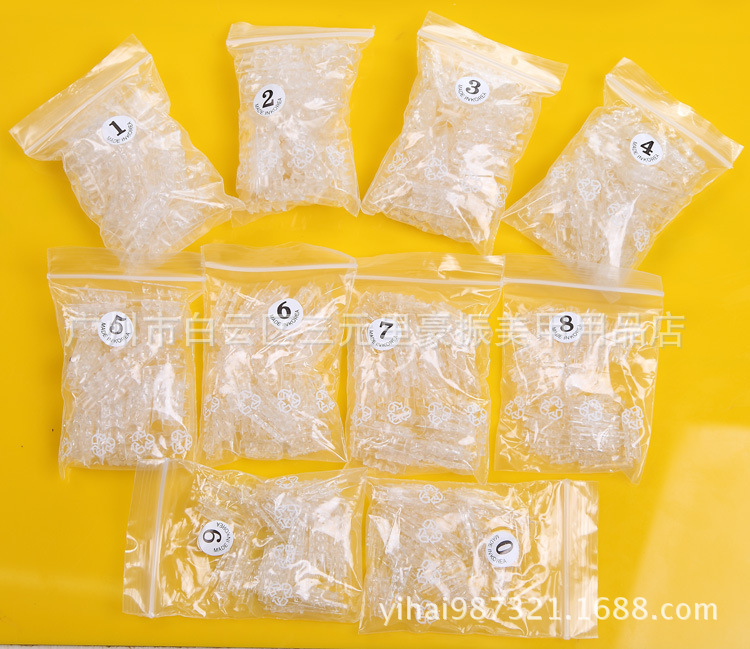
This nail patch is very popular in Korean phototherapy nails.Apply it directly to the nail (equivalent to the French method), and then apply the phototherapy glaze glue of your favorite color to easily create a good glaze nail effect.
Use this glazed nail mold to make glazed nails. In the past, it took us 1 or 2 hours to make glazed nails. Now, as long as we have this mold, we can complete the making of glazed nails in just 40 minutes, and it can be reused hundreds of times!
Method one:
1: Choose the size of the nail piece and polish it to fit it better.
2: Polish the nail surface. Place the nail piece on the nail and cut off the excess.
3: Apply adhesive. Then spread transparent glue on the nails and bake with a baking lamp.
4: Apply glaze glue on the front edge of the nail, then another color of glaze glue, then another color in turn, and bake.
5: Spread transparent phototherapy glue on the entire nail surface and bake.
6: Sanding, styling, polishing, sealing, or no-wash sealing.
7: Inlaid with diamonds, completed.
Method two:
1: Select the appropriate nail piece, polish the nail surface and the front edge of the nail piece, and paste it.
2: Apply the adhesive, spread the transparent phototherapy glue, spread it over the entire nail surface, and spread it in batches), and bake it with a UV lamp.
3: Grinding, polishing, sealing or no-wash sealing.Bake with UV light.
4: Fill the back of the finished glazed nails with nail polish of different colors.
5: The filling color distinction is more obvious, and the glaze effect is also obvious.
This nail patch is very popular in Korean phototherapy nails.Apply it directly to the nail (equivalent to the French method), and then apply the phototherapy glaze glue of your favorite color to easily create a good glaze nail effect.
Use this glazed nail mold to make glazed nails. In the past, it took us 1 or 2 hours to make glazed nails. Now, as long as we have this mold, we can complete the making of glazed nails in just 40 minutes, and it can be reused hundreds of times!
Method one:
1: Choose the size of the nail piece and polish it to fit it better.
2: Polish the nail surface. Place the nail piece on the nail and cut off the excess.
3: Apply adhesive. Then spread transparent glue on the nails and bake with a baking lamp.
4: Apply glaze glue on the front edge of the nail, then another color of glaze glue, then another color in turn, and bake.
5: Spread transparent phototherapy glue on the entire nail surface and bake.
6: Sanding, styling, polishing, sealing, or no-wash sealing.
7: Inlaid with diamonds, completed.
Method two:
1: Select the appropriate nail piece, polish the nail surface and the front edge of the nail piece, and paste it.
2: Apply the adhesive, spread the transparent phototherapy glue, spread it over the entire nail surface, and spread it in batches), and bake it with a UV lamp.
3: Grinding, polishing, sealing or no-wash sealing.Bake with UV light.
4: Fill the back of the finished glazed nails with nail polish of different colors.
5: The filling color distinction is more obvious, and the glaze effect is also obvious.